I toured for years on a cheap daisy chain and blamed the noise on rock and roll.
Every quiet passage had this hiss sitting underneath it. Every gap between songs, this faint electric whine. I figured that was just the cost of playing loud guitar through loud amps, and loud guitar through loud amps does come with its own racket, I’ll give you that. So I reached for the obvious fix. A noise gate. Then a noise suppressor. I spent money clamping down on the symptom and never once looked at the cause.
The cause was the power. It was always the power.
I didn’t believe it until I finally made the jump, and I only made the jump by accident. I was deep in a pedal-buying phase, money flying out the door, and I needed more outputs than my little daisy chain could give me. So I figured I’d already spent a fortune, what’s a bit more, and bought a proper isolated supply. Plugged it in. The hiss just dropped out of the floor. Gone. The thing I’d been fighting with gates for years was a £200 box I’d refused to take seriously.
That’s the whole game when you set up a guitar pedalboard. Three things quietly ruin good gear: the order you run your pedals in, the power you feed them, and the way you lay them out. None of it costs much to get right, and most of it you can fix today with the pedals you already own. Let’s go.
1. Guitar Pedal Signal Chain Order
Ever notice your pedals sound incredible in the shop and muddy at home? Usually it’s the order. And the order is simpler than the forums make it.
The golden rule: dynamics first, time-based last
Your signal chain should roughly mirror how sound moves through a recording studio. Dynamics get handled early, the dirt sits in the middle, and the ambient stuff goes on the end where it can wash over everything else.
That gives you this:
Guitar → Dynamics → Pitch → Gain → Modulation → Time-based.
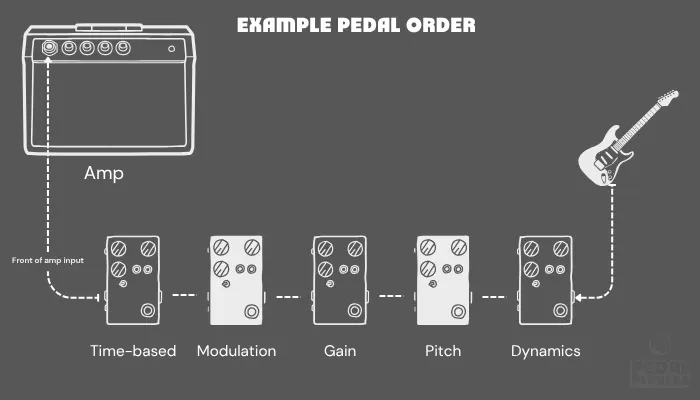
The standard signal chain order. A map, not a cage.
Why a compressor goes before your dirt
A compressor evens out your playing before it hits anything else. It catches the loud notes, lifts the quiet ones, and hands your drive pedals a steady signal to chew on.
Run it the other way, after the distortion, and you’ve got a problem. A compressor doesn’t just even out your playing. It also grabs the noise floor and lifts that too. Put it after a hot drive pedal and it hears all that hiss the drive is making and pushes it right up with everything else. You hear it most on the quiet bits, the exact moment you wanted to sound clean.
So dynamics go early. Dirt goes next. That’s most of the battle won before you’ve touched a knob.
The two order mistakes that actually matter
Modulation before drive is the big one. Put a chorus or a phaser in front of your overdrive and you’re asking the distortion to track a signal that’s constantly shifting underneath it. It smears. The drive can’t get a grip on something that won’t sit still, and you lose the harmonic thickness that made you reach for the pedal in the first place.
Running your delay into your distortion does something similar. Your delay repeats get crunched up and lose their natural decay, so instead of clean trails you get mush piling on mush. David Gilmour ran his delays through the effects loop on the Pulse tour precisely to dodge this. Those floating, pristine repeats only exist because the delay sat after the preamp, not in front of it.
You can break both of these rules. People do, on purpose, for real reasons. Just do it because you chose to, not because you didn’t know better. More on that later, because there’s a bigger truth about pedal order coming, and it’s going to sound strange next to everything I just told you.
2. Pedalboard Size and Layout
The truth about pedalboard layout, is that you’re not choosing for the pedals you own today. You’re choosing for the ones you’ll want next year.
Almost everyone gets this wrong the first time. They count the pedals on the desk, buy a board that fits them like a glove, then find something brilliant three months later and have nowhere to put it. I’ve watched that cycle eat more budgets than I can count, and I’ve ridden it myself more than once.
Size to how you play, not how much you own
Match the board to the way you actually use a guitar.
Bedroom player who jams with mates now and then? A small board like the Pedaltrain Metro 20 makes total sense. It’s 20 by 8 inches, holds about five standard pedals, fits in a backpack, and doesn’t take over the room.
Gigging or recording regularly? Give yourself room. A medium board around 24 by 12 inches takes eight to ten pedals plus proper cable management, and that extra space isn’t wasted. It’s your insurance against a cramped, overheating mess later.
Go much past 30 inches and you start inventing new problems. You’ll stretch your foot to reach the far corners mid-song, and stage space turns into a real concern. Unless you’re fronting a Pink Floyd tribute act, resist the urge to go huge.
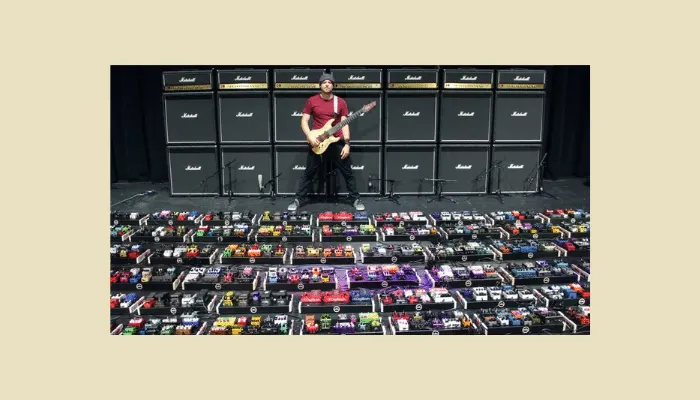
You said you wanted room to grow. You forgot you still have to fit on a stage.
Grid or linear
Linear puts everything in one row. You see every pedal, your foot movement stays natural, and a simple chain stays simple. Great until you run out of width.
Grid stacks pedals in rows and fits more into less floor space, but it forces a decision: which pedals earn the front row? Your core drive and your main time-based effects sit closest to your foot. Tuners and the stuff you set once get tucked behind.
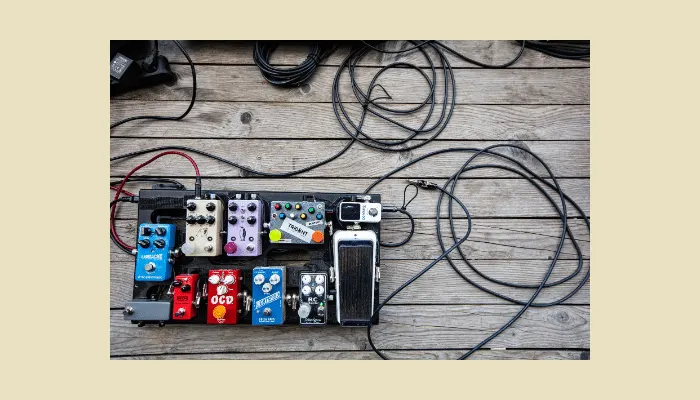
Grid layout: more pedals, less space. Just don’t bury your tuner behind the wah.
Leave a fifth of it empty
Smart pedalboard builders leave about 20% of the board bare. That gap is where next month’s pedal goes without you tearing the whole thing apart. When I see a board packed to the last inch with no room to breathe, I know that player’s shopping for a bigger board within six months.
Leave the gap. A full board isn’t finished. It’s trapped.
3. Where Each Pedal Actually Goes
You’ve got the order and the board. Now, where does each pedal physically sit, and which ones do you really need within reach?
Tuner first, no exceptions
Your tuner goes first. It needs to see your raw guitar signal before anything colors it.
If you’re running a buffered tuner like a Boss TU-3, you’ve quietly solved another problem at the same time. That buffer drives your signal cleanly down a long cable run, so you keep your top end instead of losing the sparkle after about 15 feet of cable. If your tuner is true bypass, you can add a dedicated buffer like the Keeley Katana early in the chain.
But don’t lose sleep over buffers on a small board. With a short cable run and a handful of pedals, you very likely don’t have the problem a buffer fixes yet. Buy one when your tone actually starts going dull on long runs, not because a forum told you to.
If you want to go deeper, here’s our full guide on where to put a tuner on your pedalboard.
Build around what you always reach for
Forget memorising a rulebook. Think about what you genuinely use every time you plug in, and put that where your foot lands.
For me it’s always at least two flavors of gain. One set low, just pushing the amp into a little breakup for rhythm. One set hotter for when I need to step on something and have it lift. I dial them so they stack, so I can kick the second one in on top of the first and have it sound like a bigger version of the same idea rather than a different pedal entirely.
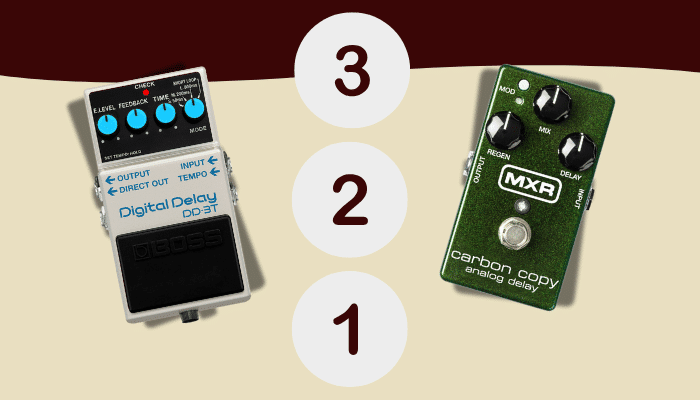
Then a delay I can’t live without. For straight rock and roll that’s my MXR Carbon Copy, set for slapback: Mix around 11 o’clock, Regen right down near 7 so it’s barely a repeat, Delay around 10. If I’m going somewhere weirder I’ll bring a Meris LVX for the wild stuff or an Empress EchoSystem for a deep bench of classic delay sounds. And I always want some wobble on the board, a flanger or a harmonic tremolo, or an Eventide H9 doing swiss-army-knife duty when space is tight.
Reverb lives on my main board too. But I’ll tell you a secret. With a genuinely good delay, you can get by without it.
A compressor is the other one worth talking about. I run a Keeley Compressor Plus as an always-on for clean playing: Level at noon, Tone at noon, maybe nudged to 1 o’clock if I want a touch more sparkle, Blend around 1 or 2, Sustain about 10 to 11. It’s subtle, the kind of compression you only notice when it’s gone. Though honestly, I don’t always have it on. Mostly just for clean passages where I want every note to sit even.
The point is reach. Put the pedals you stomp every song where your foot finds them without looking. Everything else gets placed by how often you actually touch it.
The pedal you can’t reach is the pedal you won’t use.
4. Power and Cables
You’ve sorted the order and the layout. Now the part I ignored for years, the part that separates a board that sounds pro from a board that sounds like mine used to.
A noisy pedalboard kills your tone faster than any wrong pedal placement. And the culprit is almost always the same two things: cheap power and lazy cabling.
Why isolated power changes everything
Your pedals want clean, steady power. That daisy chain running off one plug is feeding them all from the same noisy trough, and digital pedals are the worst offenders. When a digital pedal shares power with your analog ones, its switching noise bleeds straight into their circuits. That’s the high whine you hear in the quiet bits. That’s the thing I spent years gating.
The current draw tells the story. A digital delay like the Strymon Timeline wants around 300mA of clean isolated power. Your analog Tube Screamer sips around 10mA. Cram those onto the same daisy chain and the big digital draw drags noise across everything.
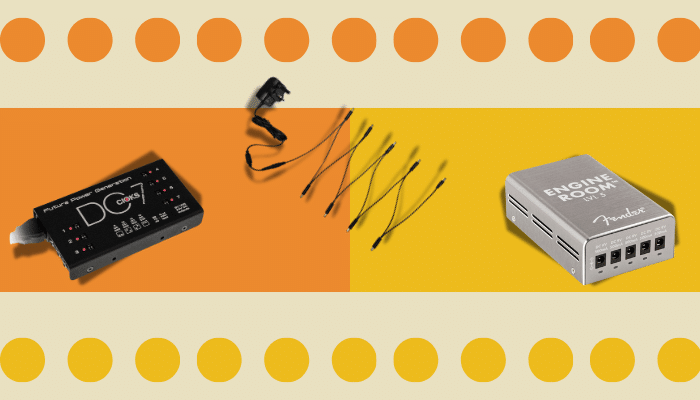
An isolated supply gives each pedal its own separate output, so nothing bleeds into anything. I use the Cioks DC7 and it’s dead quiet, but there are loads of great options out there now at every price. The brand matters less than the principle.
This is the one bit of gear I’d tell any beginner to spend real money on. Not a boutique fuzz. Power. It’s the least exciting purchase in guitar and the one that fixed more of my tone than any pedal ever did. Buy the best power you can afford and you’ll never think about it again.
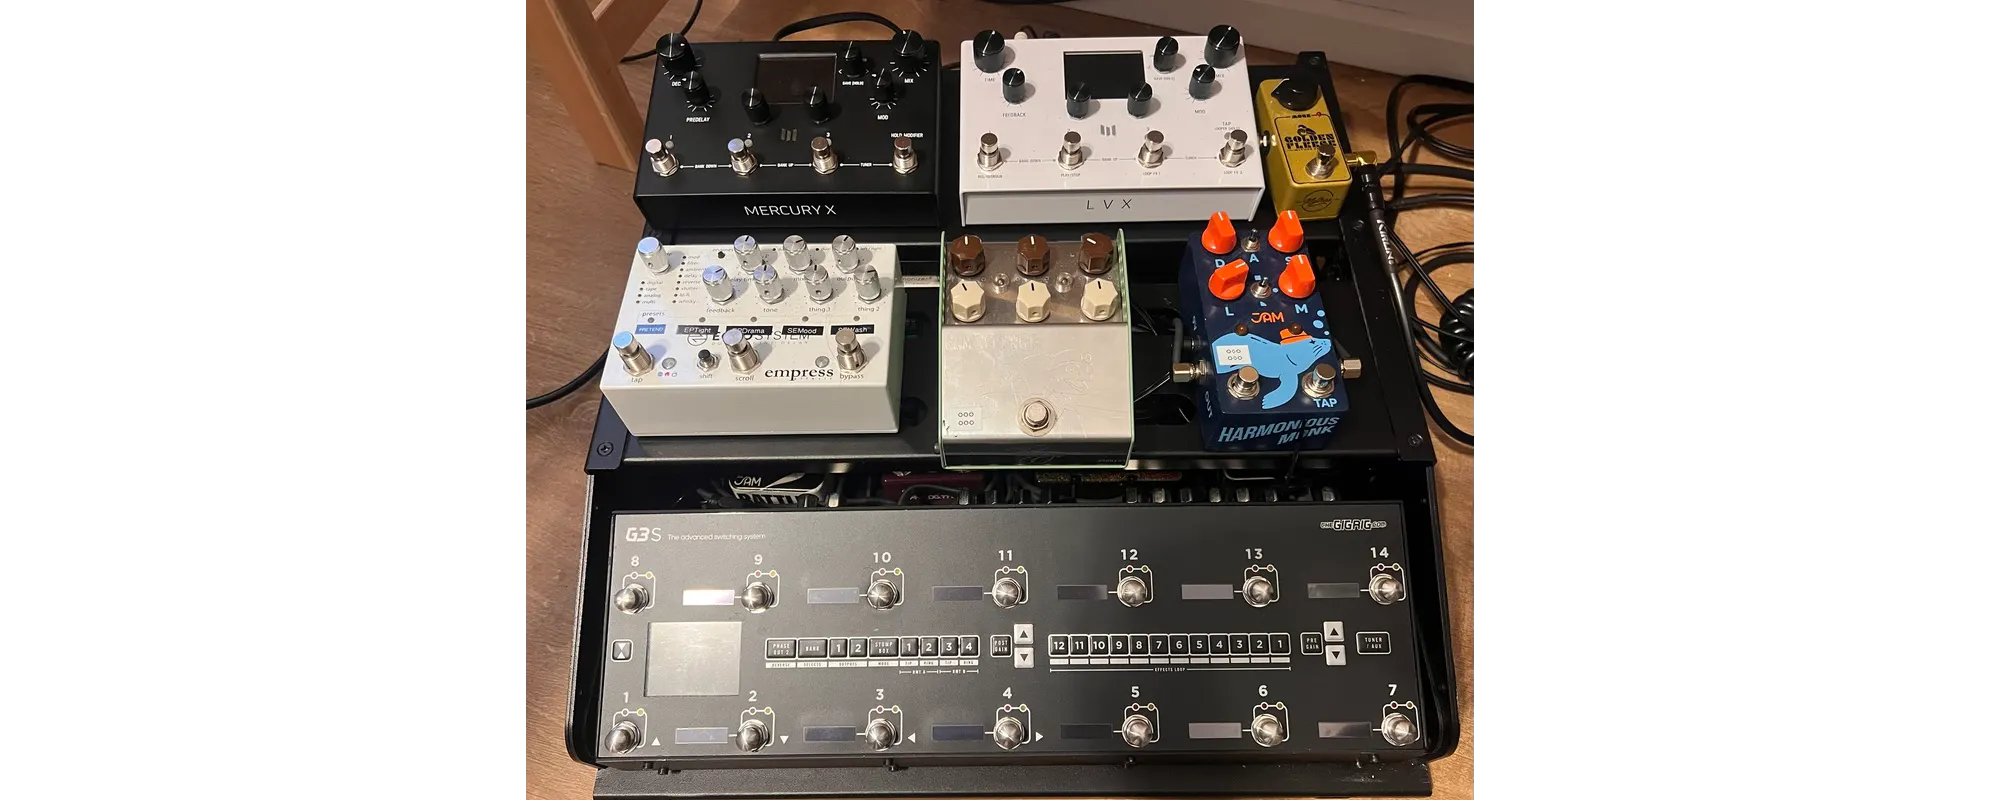
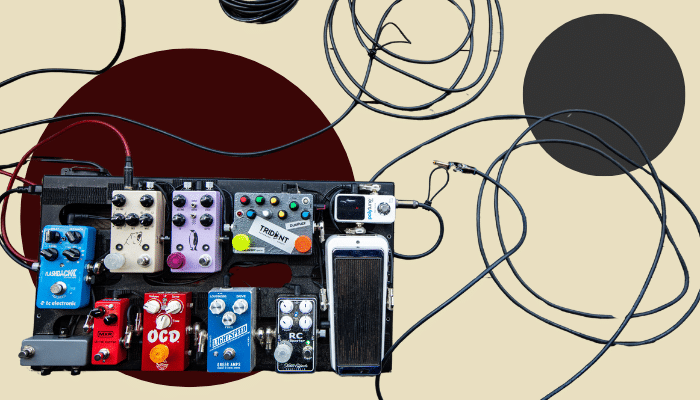
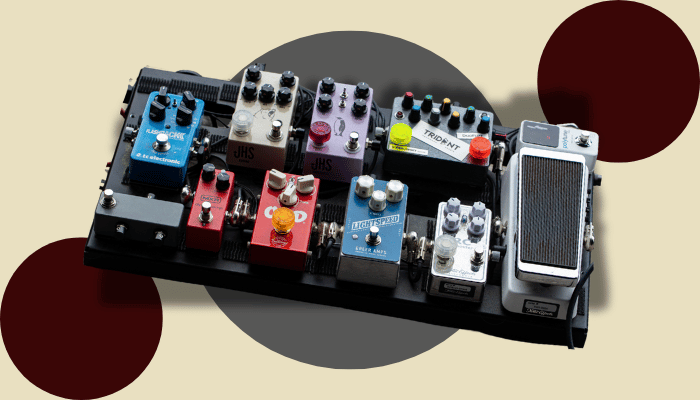
My board. It’s two-tier, so what you can’t see from up here is a whole level underneath: the power supply, the cabling, and a few more pedals all tucked out of the way, with a little slack left on every cable.
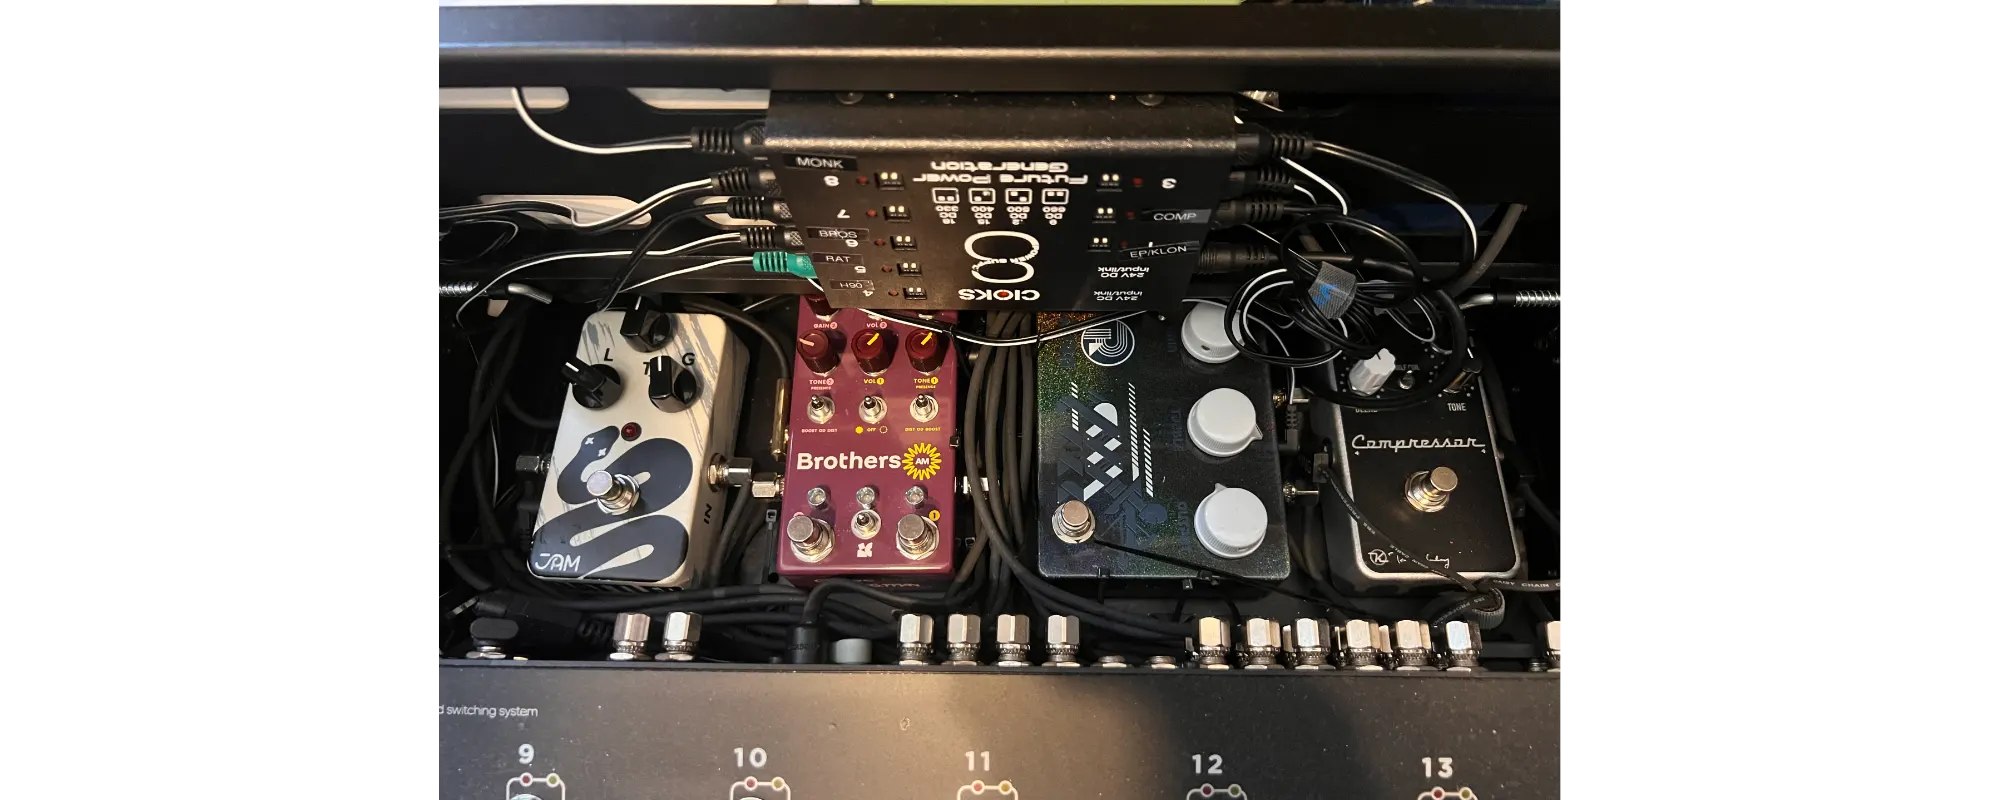
The view underneath. That’s the Cioks 8 expander you can see, feeding extra isolated outputs off the DC7 hiding behind it. Ignore the messy cabling. I don’t tie any of it down on purpose, because I swap pedals constantly and a perfectly loomed board is a board you have to rebuild every time you want to try something new.
Cable routing that actually works
Run your patch cables underneath the board, not draped over the top. Tucked under, they stay out of the way and pick up less interference.
Here’s the one habit worth building. Leave about 2cm of slack at each connection, a little service loop, so the joint isn’t under tension every time you move the board. Yank a tight cable enough times and the solder joint gives. Leave the loop and it doesn’t. A few of my guitar tech mates do exactly this on touring rigs, and they’re not doing it for looks.
Use flat patch cables where space is tight. But don’t fall down the boutique cable hole. Past a decent connector, expensive patch cables are mostly diminishing returns, and the cables that genuinely matter are the long ones in and out of your board, not the three-inch hops between pedals. Spend there if you’re spending anywhere.
For mounting, Velcro and Dual-Lock beat zip ties every time. You can move a pedal without cutting anything loose. And keep your power cables away from your signal cables, crossing them at 90 degrees where they have to meet, so power hum doesn’t couple into your audio.
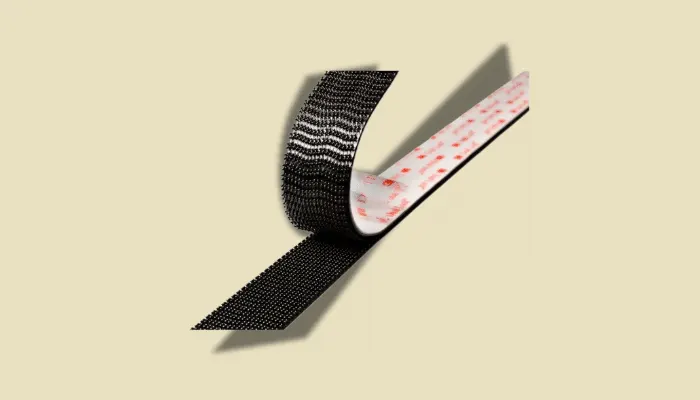
Dual-Lock: strong hold, easy to reposition. Worth it.
If you want the full breakdown on powering pedals, we cover it here: How to Power Guitar Pedals: Everything You Need to Know.
5. Advanced Combos, and the Truth About Order
Right. Now the strange part I promised you back in section one.
The best stuff happens when you stop obeying the order and start breaking it on purpose.
The delay and reverb question
Run delay into reverb and you get classic, controlled ambience. Your repeats decay naturally into the reverb wash, that floating Gilmour-style texture where a single note hangs in the air. Flip it, run reverb into delay, and you get a completely different animal. Now the delay grabs the whole reverb-soaked signal and throws it back at you, building wall after wall of sound. That’s how Kevin Shields built those My Bloody Valentine shoegaze storms.
Same two pedals. Opposite worlds. Try both and your ears will tell you which one the song wants.
Stacking and parallel paths
Stacking is where my two-gain setup earns its keep. A lower-gain drive feeding a hotter one gives you a singing saturation neither pedal makes alone. Parallel signal paths take it further: one path through aggressive dirt, another through clean delay and reverb, blended back together for a depth that sounds like two guitarists playing the same part. And stacking delays at different times builds rhythmic textures out of thin air.
Here’s the thing about pedal order
I just spent a whole section telling you the right way to chain your pedals. So let me undercut myself, because it’s the most useful thing in this guide.
The real mistake is believing there’s one correct pedal order at all.
Don’t trust people like me when we tell you one way is best. The chart in section one is a starting point, a sane default that keeps you out of trouble while you learn. It is not the law. Move things around. Put the fuzz after the drive. Run the reverb into the delay. Stick the compressor at the very end and see what happens.
Half the time you won’t like the result. That’s fine. You’ll have learned exactly how those pedals talk to each other, which is worth more than any chart I could draw you. The players with the most recognizable tones got there by ignoring the rulebook on purpose.
So learn the order. Then break it like you mean it.
6. Test, Tweak, and Trust the Process
A pedalboard only gets better when you put it through real-world testing. Most players set it up once and never revisit it. The ones who keep tweaking are the ones whose boards quietly get great.
A/B it properly
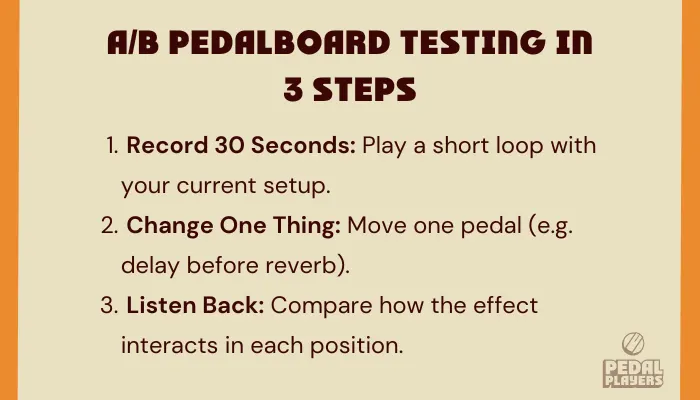
Record short loops of your setup. A clean chord progression, the same thing with drive on, then the full ambient wash with your delays and reverbs going. Thirty seconds each.
Then change one thing. Move the delay from after the reverb to before it, record the same passage, and listen back. The trick is to change one thing at a time. If you’re testing whether the overdrive sounds better before or after the fuzz, don’t also move the wah. Keep everything else locked so you can actually hear what the one change did.
And test at the volumes you actually play. Bedroom, band practice, full stage. What sounds gorgeous at home can turn to mud when there’s a drummer in the room. A 450ms delay with the regen up might be perfect for a ballad and total chaos through a punk chorus. Your board has to work where you work.
Your Board Doesn’t Make You
Here’s what I’ve learned after years of getting all of this wrong before I got it right.
A pedal is not the answer to better tone or better playing. I know, I run a site about pedals. But almost any standard pedal can be made to sound good, and the gap between a great player on cheap gear and an average one on boutique gear isn’t close. Learn the gear you have before you reach for something pricier. You don’t need boutique. You don’t need premium. Some of the most jaw-dropping tones ever recorded came off simple, cheap-ish, sitting-in-every-shop pedals. Look at how far players have gone on nothing but a Boss pedal and an idea.
So when you set up a guitar pedalboard, keep it simple. Get your order close, then mess with it. Leave 20% of the board empty. And buy the best power you can afford, because the quietest upgrade I ever made was the one I should have made years sooner.
Get those right and the board disappears, which is the whole point. It was never the board doing the playing.