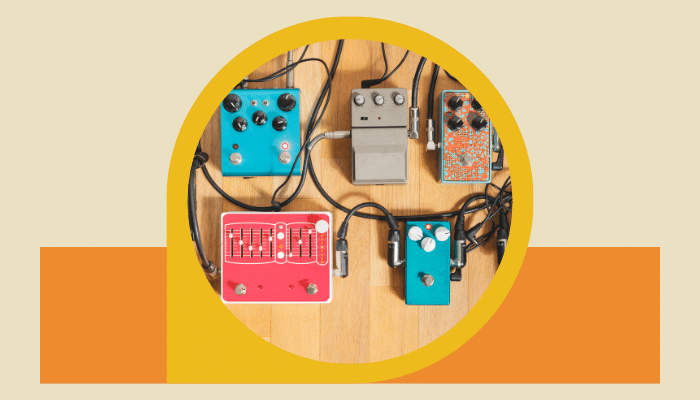
For years, I was that guitarist who stuck to just one trusty pedal, convinced that venturing into multiple effects pedals would be a tangled mess of wires and confusion.
I loved my sound (I think), but deep down, I always knew there was so much more for me to explore if only I could figure out how to connect multiple guitar pedals without losing my mind—or my tone.
It wasn’t until I finally took the plunge that I discovered just how transformative a well-crafted multi-pedal setup could be. If you’ve ever felt or wanted to feel the same way, you’re in the right place.
I’ve written this guide to help you master, or at least get started, learning how to connect guitar effects pedals. It covers everything from understanding pedalboards and patch cables to nailing the perfect pedal order for your unique sound.
How to Connect Multiple Guitar Pedals Together
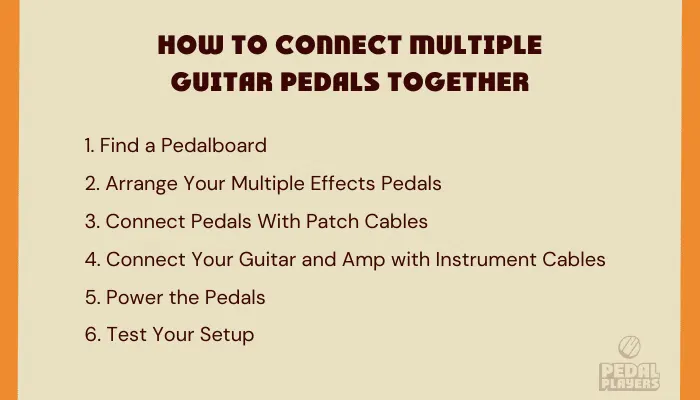
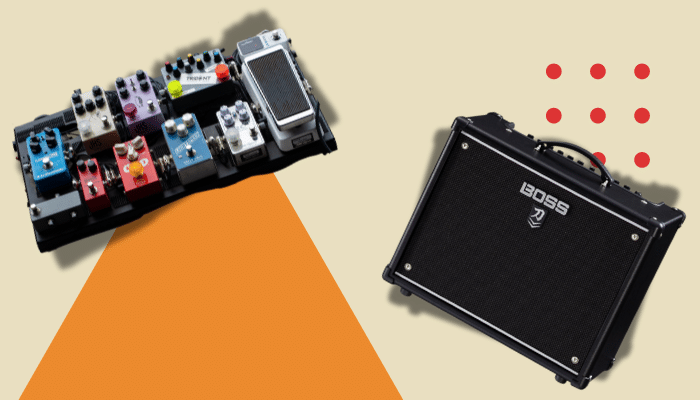
1. Find a Pedalboard
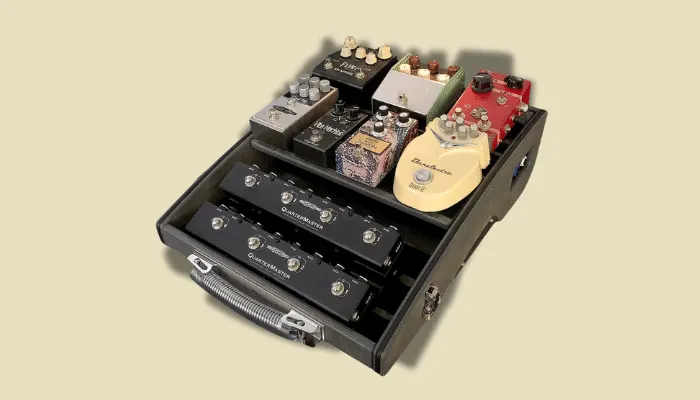
Some would argue this isn’t essential, and they are right. But your pedalboard is the foundation of your setup and holds everything together.
Choose one that’s the right size—big enough to fit your current pedals and any future additions but not so large that it becomes unmanageable and impossible to carry around (I’m guilty of this). Look for lightweight and long-lasting materials such as aluminum.
Think about the layout, too. A tiered design can make pedals more accessible during performances, but it normally comes at a higher cost.
2. Arrange Your Multiple Effects Pedals
The nature of your tone lies in the variety of effects pedals you choose. Each pedal brings a unique flavor to your sound, from distortion and overdrive to delay, reverb, and modulation effects.
When connecting everything up, think carefully about what order to put guitar pedals in, as this can drastically impact your overall tone. For instance, modulation effects typically sound best after distortion, while time-based effects like reverb and delay often work well at the end of the chain.
Before you stick them to your pedalboard, lay all your pedals out on the floor and experiment with different combinations to find the setup that best suits your playing style and desired sound.
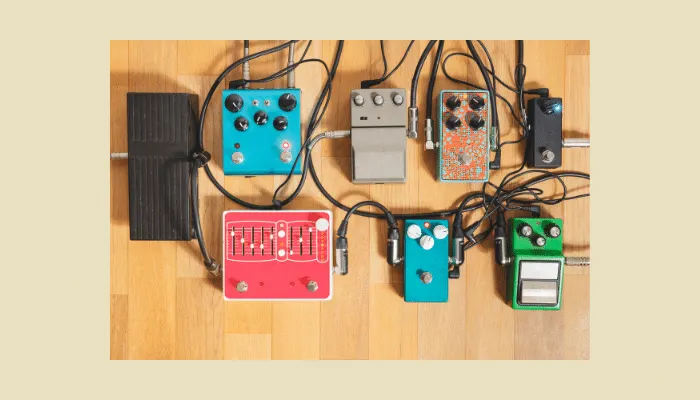
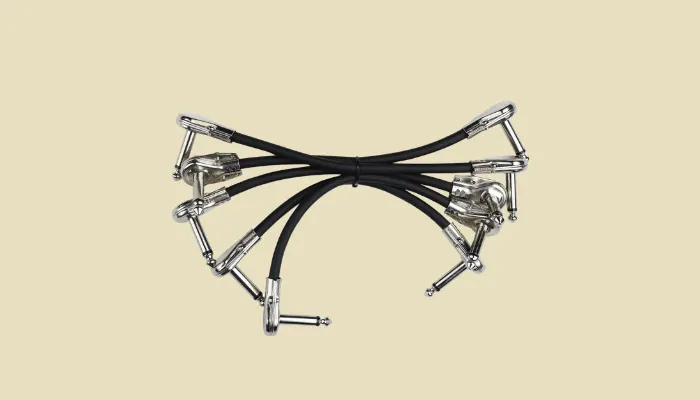
3. Connect Pedals Together With Patch Cables
Patch cables might be small, but they play a huge role in maintaining your signal’s quality. Invest in high-quality cables with strong connectors and durable sheathing to avoid noise and preserve your tone.
You connect your patch cables from one pedal’s output to the next’s input. Use shorter cables (as short as you can get them) to minimize signal loss and keep your setup tidy. If space is tight, consider whether you want flat or right-angle connectors (this will depend on your board and pedal layout).
Note that reliable patch cables are worth the extra investment. They will ensure that your pedals work together seamlessly without compromising your sound. Good quality cables will also last a long, long time if you treat them well.
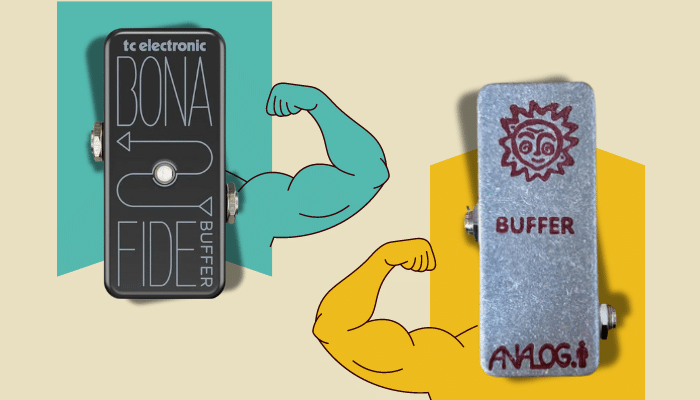
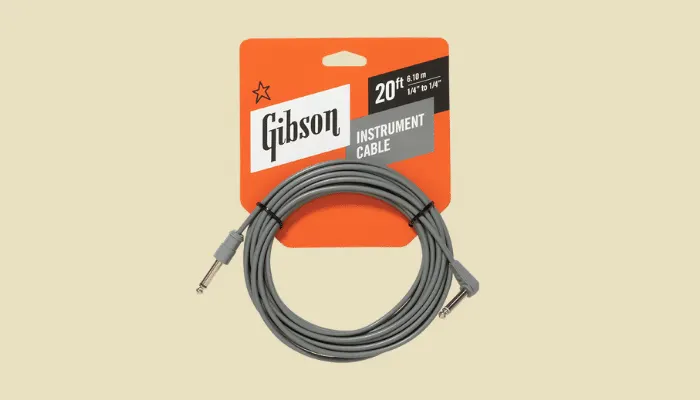
4. Connect Your Guitar and Amp with Instrument Cables
Like patch cables, don’t ignore the importance of good instrument cables when connecting your guitar to your pedalboard or amp. High-quality instrument cables help your signal remain strong and clear, free from unwanted noise or interference.
Connect one instrument cable from your guitar to the input of your first pedal and the other from the last pedal’s output to your amplifier.
When buying cables, look for ones with low capacitance to preserve your tone’s high-end frequencies. Durability is key, so choose cables with reinforced connectors and robust insulation to withstand the rigors of live performance and frequent use.
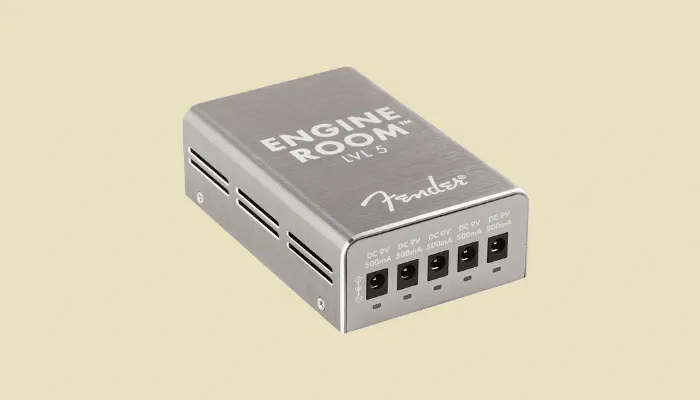
5. Power the Pedals
A good power supply is crucial for keeping your pedals running smoothly. While batteries are simple, they’re not practical for multiple pedals.
Daisy chaining multiple pedals is an affordable solution but can introduce noise. For the best performance, consider an isolated power supply, which provides consistent voltage to each pedal and eliminates ground loop hum.
You need to connect power to each pedal, but make sure your power supply can handle your pedals’ voltage and current requirements. For an in-depth guide on this, check out our article on how to power guitar pedals.
6. Test Your Setup
Once everything is connected, it’s time to plug in your guitar, power up your pedals, and test your sound.
Play through your setup, paying close attention to how each pedal interacts with the others. Listen for any unwanted noise, signal loss, or tonal imbalances. If something doesn’t sound quite right, feel free to adjust the order of your pedals or double-check your connections.
This final step is setting your pedal levels to ensure your pedals deliver the sound you want. Take your time to experiment and tweak until your tone is exactly where you want it to be.
Popular Pedalboard Setups
When it comes to connecting your pedals, there’s no one-size-fits-all solution. Different setups offer distinctive benefits depending on your style, preferences, and the sounds you want to create. Here are three ways to set up your pedals, from the simple to the complex.
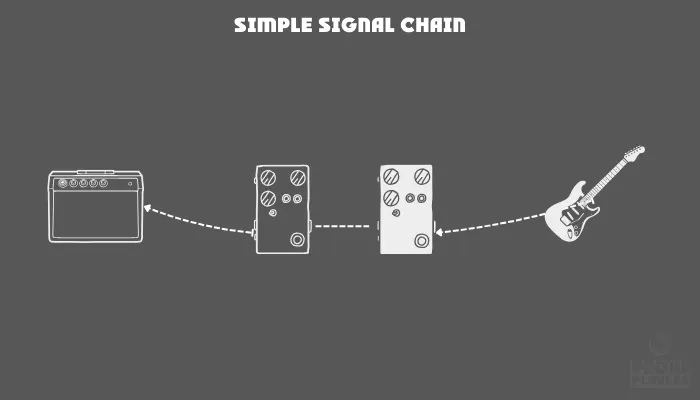
Simple Signal Chain Setup
The simple chain setup is the most straightforward and popular way to connect multiple guitar pedals.
In this configuration, pedals are arranged in a linear sequence, with one pedal’s output connected to the next’s input. This setup is ideal for beginners or those who prefer a simple approach.
Split Signal Chain Pedalboards (Parallel Signal Chain)
Split chain arrangements provide flexibility by dividing your signal into multiple paths. You can run your effects parallel to each other and blend them together for unique textures.
You’ll need an A/B/Y splitter box or a stereo pedal to route signals separately to create a split chain. One common approach is to send your clean signal through one path and apply effects like modulation or time-based effects on the other. This keeps your core tone clear while adding a touch of complexity.
Alternatively, you can split the signal to run through different amplifiers, creating a wide stereo sound. This method is particularly effective for achieving lush, immersive tones similar to what you hear in studio recordings.

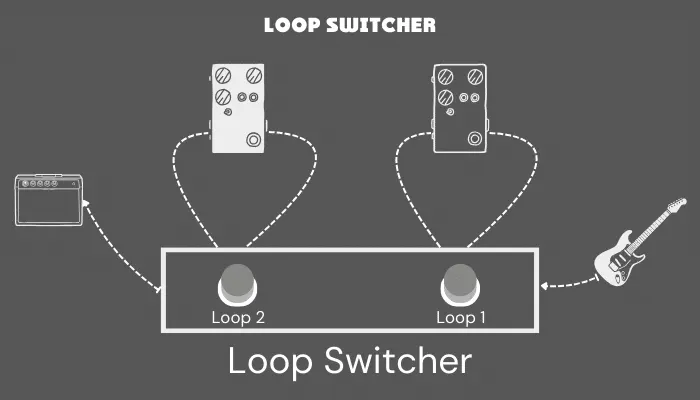
Loop Switchers
Loop chain setups offer substantial advantages for managing multiple guitar pedals efficiently. Using a loop switcher, you can route pedals into separate loops, allowing you to activate or bypass entire groups of pedals with a single switch.
This setup stops you from tap dancing during performances, allowing you to focus more on your playing. Loop chains help maintain signal integrity by keeping unused pedals out of the signal path, minimizing noise, and maintaining tone quality. They also allow you to experiment with complex effect combinations, as you can easily rearrange pedal order within loops.
Additionally, loop chains can feature programmable switchers, enabling you to save and recall presets, send midi messages, and more for different songs or sections.
Totally unaffiliated, but if you’re looking for a loop switcher, I can only honestly recommend the one I use (there are other great ones out there; I just haven’t used them): the Gigrig G3S. It’s a beast and very expensive, but it can do everything I throw at it and more. Check it out at The GigRig.
Embrace the Chaos
In the end, discovering how to use multiple guitar pedals is less about following strict rules and more about embracing the chaos of experimentation. Sure, there are best practices, but the real magic happens when you start bending those rules to fit your style.
Personally, I’ve found that some of my favorite tones came from setups that weren’t “textbook perfect,” but they were perfect for me.
So, don’t be afraid to mix things up; try something unconventional and see where it takes you.