You’ve built up a collection of new pedals, but what’s the best way to attach them to your pedalboard while still making them easy to take off or move around? After all, a pedalboard is never truly finished, right?
For me, it’s a case of keeping my pedals secure, but I also want it to look great. I’ve spent a lot of money on my pedalboard, and I don’t want it to look messy or ugly. I know, I know.
In this article, I’ll discuss the best methods for attaching pedals, from temporary Velcro to permanent brackets. Whichever you choose, all these options will keep your effects organized and ready to play when you need them. Okay, let’s attach these pedals to the board!
Key Takeaways
There are four popular options for attaching pedals to a pedalboard:
- Velcro: Cheap, easy, and quick to remove and reposition, but it can loosen over time.
- 3M Dual Lock Tape: It has a strong grip and allows repositioning, but it is expensive.
- Mounting Brackets: Most secure, need tools and often modifications for attaching and repositioning.
- Zip Ties: Easy, cheap, not very durable. You might need to drill holes.
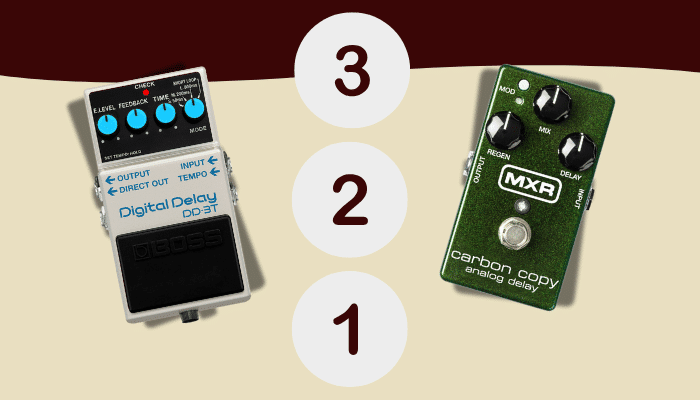
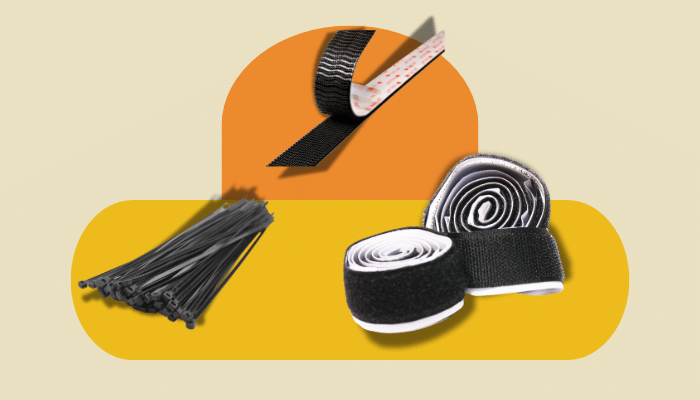
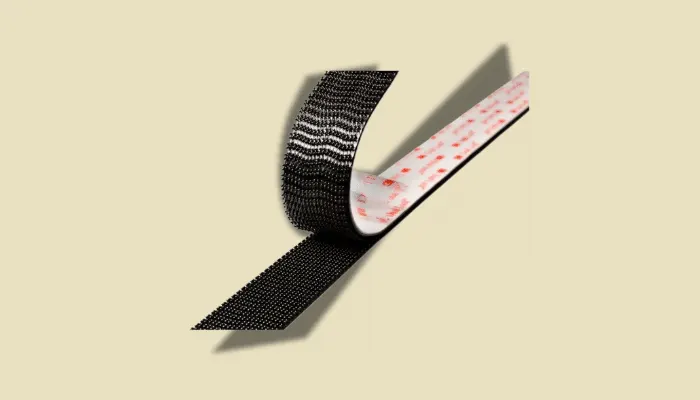
Velcro: The Quick and Easy Option
I hated it on my school shoes as a kid, but Velcro, or hook-and-loop tape, is a reliable, popular, cheap, and easy option for keeping pedals secure on a pedalboard.
Pros and Cons of Velcro
- Pro: Inexpensive, easy to find, and simple to attach.
- Pro: You can easily remove and reposition pedals quickly without damaging them.
- Con: It can loosen over time, especially if you keep moving your pedals around. As a result, it might not grip as tightly, allowing the pedals to shift around.
- Con: Collects dust, dirt, and grime, which can impact its sticking ability.
How To Attach Pedals With Velcro
Here’s how to attach pedals to a pedalboard with Velcro:
- Clean your pedals and pedalboard to remove any grease or debris before attaching the Velcro.
- Use high-quality Velcro, not the cheap stuff. It will grip better and last longer.
- Attach the fuzzy side of the Velcro to the pedalboard and place small pieces of the hook side on the pedal. A few cm on each side should do it – you don’t need much.
- Apply firm pressure for 30 seconds after sticking the Velcro to ensure the best bond.
While Velcro isn’t the most permanent solution, with proper application and maintenance, it can work great for securing pedals to a pedalboard. I recommend replacing the Velcro on your pedals every year or two or whenever you notice they get a bit wobbly.
All in all, Velcro is one of the most convenient and pedalboard-friendly options for guitarists who change their pedals around often.

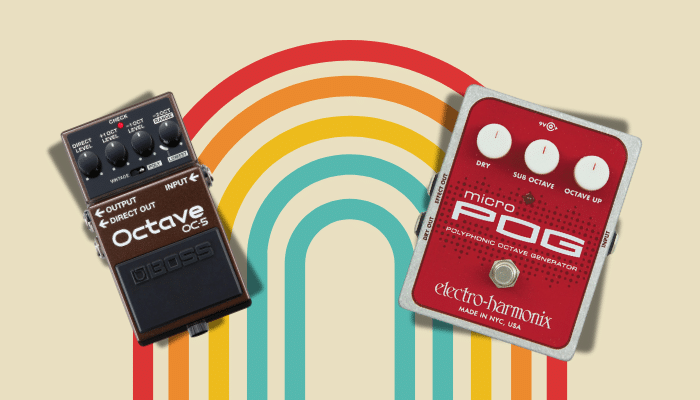
3M Dual Lock: A Stronger Alternative to Velcro
For a stronger hold than Velcro, you can use 3M Dual Lock tape. This stuff is like Velcro with a bit of extra bite, and it’s becoming a firm favorite among pedal enthusiasts. It’s also what I use on my board all the time.
Dual Lock tape has mushroom-shaped stems that interlock for a seriously robust grip.
Pros and Cons of Dual Lock Tape
- Pro: It’s strong. Your pedals aren’t going anywhere once attached.
- Pro: It’s also easier to remove than Velcro, without leaving behind lots of residue.
- Con: If you use too much, it can be difficult to reposition pedals. This is why I recommend using only small amounts on each pedal.
- Con: It’s expensive.
How To Attach Pedals With Dual Lock Tape
To use Dual Lock tape on your pedalboard:
- Clean and rough up the surfaces of your pedals and pedalboard so the tape adheres well. Rubbing alcohol works great for this.
- Cut pieces of Dual Lock Tape to about 2cm x 2cm, stick one to each corner of your pedal, and add some more as the point of contact on your pedalboard. I use long strips on my pedalboard to freely swap pedals around no matter their size, but you can also add small pieces to align with each corner of your pedal.
- Press firmly for about 30 seconds to bond the pieces together.
- Attach your power supply and cables, and you’re ready to go!
For guitar players frustrated with pedals moving around, 3M Dual Lock Tape is a great solution. It’s not the cheapest option, but it will give you peace of mind that your pedals will stay where you put them.
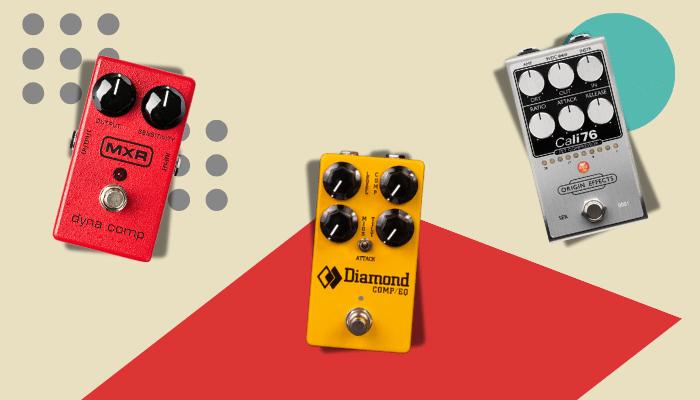
Pedal Mounting Brackets: A Semi-Permanent Solution
Pedal mounting brackets offer a secure way to attach your pedals to a pedalboard, but they can be tricky to remove or reposition.
Pedal mounting brackets are usually made of steel and have holes that are recessed so your pedal screws sit flush with the bracket. This provides lots of stability but means you’ll need tools to remove or reposition the pedal.
Pros and Cons of Mounting Brackets
- Pro: They create an ultra-stable pedal platform.
- Con: It can take a long time to move pedals around. You’ll also need tools.
- Con: In many cases, you need to modify your pedalboard.
How To Attach Pedals With Mounting Brackets
To attach a pedal with some mounting brackets (this may be different depending on the mounting bracket design):
- Position the pedal and the mounting brackets on your pedalboard where you want them. Mark the holes in the mounting bracket with a pencil.
- Remove the pedal and mounting brackets and drill pilot holes in the pedalboard at the marks you made.
- Place a bracket over each hole and secure them to the pedalboard with the included screws.
- Place your pedal over the brackets and secure it in place with screws through the holes in the pedal base into the brackets.
Brackets are a good choice if you want a more permanent or super secure solution.
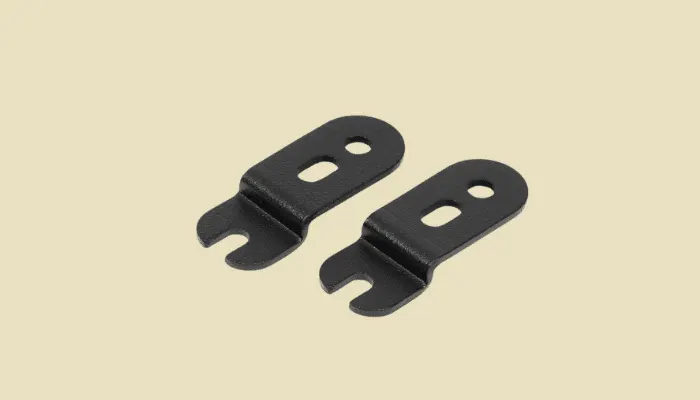
Mounting brackets pictured are available from Helweg Design [1]
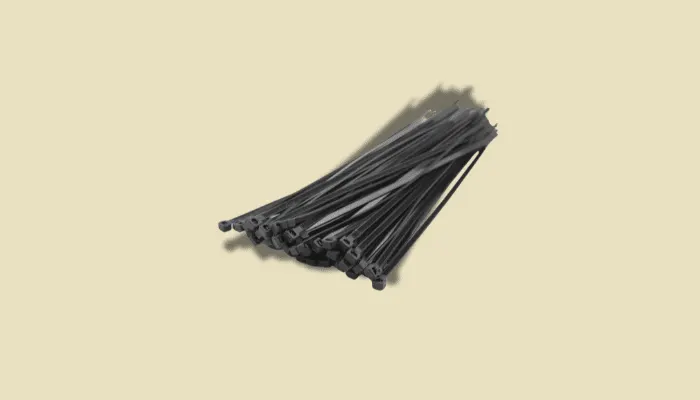
Mounting Pedals With Zip-Ties
Using zip ties to mount your pedals to a pedalboard is a simple and effective solution. Zip ties, also known as cable ties, are cheap, easy to use and remove, and offer a secure way to attach pedals without damaging them.
Pros and Cons of Attaching Pedal With Zip-Ties
- Pro: Easy, non-permanent solution for mounting pedals.
- Pro: They’re simple to remove if you want to reconfigure your pedalboard, and they don’t damage the pedals or board.
- Con: May not provide the most rugged or sturdy mounting over the long run, especially if your pedalboard gets heavy use.
- Con: Usually involves drilling and modifying your pedalboard.
Zip ties offer guitar players an easy, cheap way to create a tidy yet flexible pedalboard setup. With some basic tools and work, you’ll have your pedals securely fastened and ready to go.
How To Attach Pedals With Zip Ties
To attach a pedal with zip ties (this might be different depending on the pedalboard you’re using):
What you’ll need
You’ll need zip ties (also called cable ties), wire cutters to trim the ties, and a drill to make pilot holes in the pedalboard. Standard zip ties come in a variety of lengths, so choose a size appropriate for your pedals and pedalboard.
- Drill small pilot holes in your pedalboard spaced about an inch apart. The holes should be slightly larger than the width of your Zip Ties. Place the holes in a rectangle around the edges of where you want to position each pedal.
- Thread one end of a Zip Tie through a pilot hole from underneath the pedalboard. Then, thread the other end down through a hole on the opposite side of the pedal, pulling it snug. Repeat this, threading zip ties through holes on all sides of the pedal until it feels secure.
- Gently tighten each zip tie by hand, checking that your pedal remains level. Once all the ties are snug, use your wire cutters to trim off any excess length, leaving about 1/4 inch remaining.
To Sum Up
Hopefully, you feel a little more confident now about how to attach your pedals to your pedalboard. Whichever method you use from this article, I’m sure it’ll serve you well. It’s simply a case of reading through and thinking about which method will suit you the most.
But before you pull out your drill or start modifying your pedalboard, take note that for most guitarists, Dual Lock Tape or Velcro does the trick just fine.