Flanger pedals have a way of sparking debates among guitarists, especially when it comes to their placement in the signal chain.
Should you place your flanger before or after distortion? This decision can decide whether you’ll get a more subtle, organic vibe or let dramatic swooshes take center stage.
Sadly, for us guitar players, there’s no single right answer. But understanding how each option shapes and affects your tone can help you find what works best for your sound.
Let’s break it down and look at the differences. I even asked some guitarist friends of mine to get their opinions, which I’ll share below.
Key Takeaways
- Before Distortion creates a subtle, organic tone with a “chewier” texture but may lose clarity with high-gain pedals.
- After Distortion produces a pronounced, metallic swoosh and is ideal for dramatic effects but can overpower heavy distortion.
What is a Flanger Pedal?
At its core, a flanger pedal is a modulation effect pedal that creates sweeping, jet-like sounds by delaying and blending identical signals. For a deeper dive into what flangers are, how they work, and their history, check out our article, The Ultimate Guide to Flanger Pedals For Guitarists.
Flanger Before or After Distortion
Deciding whether to put your flanger before or after distortion needs careful consideration and experimentation. In the next sections, I’ll try to explain the differences between each, but be aware the best way is always to try it out for yourself.
Flanger Before Distortion
Putting your flanger pedal before distortion lets the modulation interact directly with the raw guitar signal. This means the effect gets shaped by the distortion rather than the other way around.
Here are some of the benefits you’ll notice when putting your flanger before distortion or overdrive:
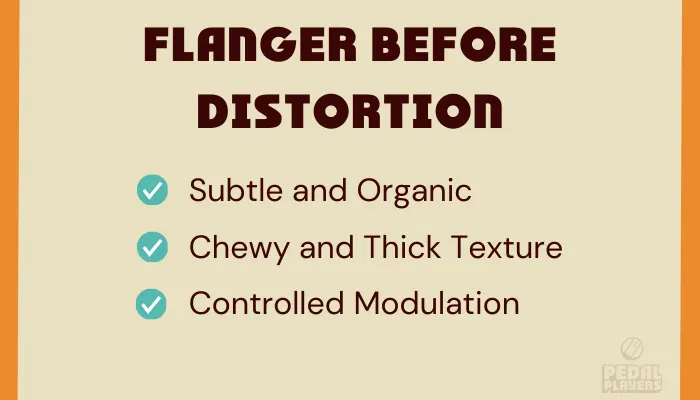
Subtle and Organic
Many players describe this setup as producing a “wobblier, organic tone” that fits naturally into their overall sound. Flanger before distortion is great for anyone looking for a softer, more understated flange effect.
Chewy and Thick Texture
Like classic phasers and Univibes, when you put the flanger before distortion, it can result in a “thicker” and “chewier” tone. This is also true if you use a nice overdrive or fuzz pedal.
Controlled Modulation
If your flanger doesn’t have a mix or blend control, running it before distortion can help you control the level of modulation and stop it from overwhelming and possibly ruining your tone.
With all this said, you have to be careful when running flanger pedals before distortion, especially when you’re using high-gain pedals. The clarity of the flanger can suffer because of the heavy compression and saturation of the distortion pedal, turning your tone into a chaotic and muddy effect.
Flanger After Distortion
Placing your flanger pedal after distortion means the flanger will process the compressed and harmonically rich signal from your dirt pedals. This placement typically makes the flanger’s effect more noticeable and dramatic.
Here are some of the benefits of putting your flanger after distortion or overdrive:
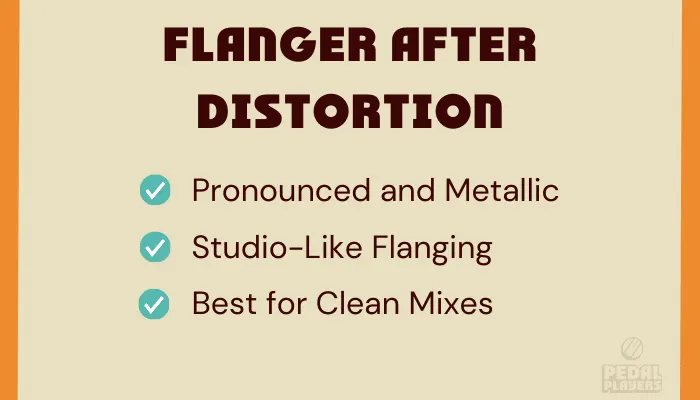
Pronounced and Metallic
Many players love this setup because it creates a stronger, more metallic swooshing effect. A few guitarists I asked mentioned that this order “changes your dirt tone much more.” Honestly, I’m not 100% sure if this is a good or bad thing for them, but I guess this depends on you and the sound you’re looking for.
Studio-Like Flanging
Historically, tape flanging was applied after recording the guitars, which will have similar tonal characteristics to running flanger after distortion. So, if you’re after a more vintage-style flanger sound, this might be a good start.
Best for Clean Mixes
If you prefer a cleaner stage sound with less noise, running flanger after dirt pedals is often a good idea, but make sure you use lower mix settings (if your flanger pedal allows). This method reduces the dominance of the flanger’s swoosh, allowing it to add a clear flanging tone to the signal without overwhelming it.
The downside of all this? When coming after heavy distortion or overdrive, the flanger can sometimes overwhelm the tone, leading to what one player described to me as a “swooshing mess.”
Other Placement Option: In the Effects Loop
Some guitarists like to place flangers in the effects loop on an amp, especially if they’re using amp-based distortion. This setup processes the signal after the amp’s preamp distortion, producing a cleaner, more polished modulation effect.
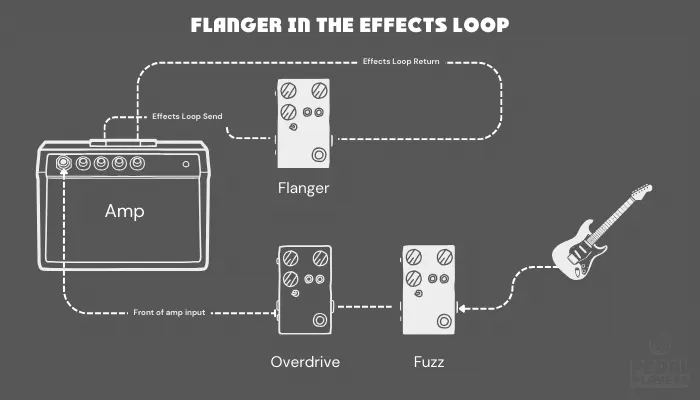
However, depending on the pedal settings, the effects loop can make the flanger sound overly pronounced or produce feedback issues.
How Distortion Level Affects Flanger
The type of distortion you use can significantly impact your flanging tone. Here’s a brief description of what you can expect from different levels of distortion:
- Light Overdrive
Usually, it works well with both pre- and post-dirt flanger placement. - Heavy Distortion
Can make flangers sound chaotic and overpowering, especially if placed after the dirt. - Fuzz
Some players find that flangers placed after fuzz create overly aggressive effects, while others enjoy the unique textures it produces.
Other Guitarists’ Advice For Using Flanger
From the guitar players I asked, here are some additional perspectives and experiences they offered about flanger placement that I had to include in this article:
Use the Mix/blend Controls
Flanger pedals with mix or blend controls offer more flexibility. One guitarist mentioned, “Without a blend control, flanger after dirt can overwhelm the tone way too much.” Learn more about the controls on a flanger pedal.
Switch It Up
Surprisingly, some players use both setups. One guitarist said, “I like to switch between the two. Flanger sounds fantastic in both positions but offers different characteristics depending on placement.”
Stage and Studio Contexts
A few players also mentioned that working in a live setting can differ massively from the studio. While some guitarists prefer the clarity of post-dirt flanging on stage, they go for pre-dirt flanging in the studio for a more natural sound.
Tips for Experimenting With Flanger Position
Through my own experience and conversations with other guitarists, I’ve found that experimenting with flanger placement is an essential step to discovering what works best for your sound.
Here are my tried-and-tested tips for finding what works for you:
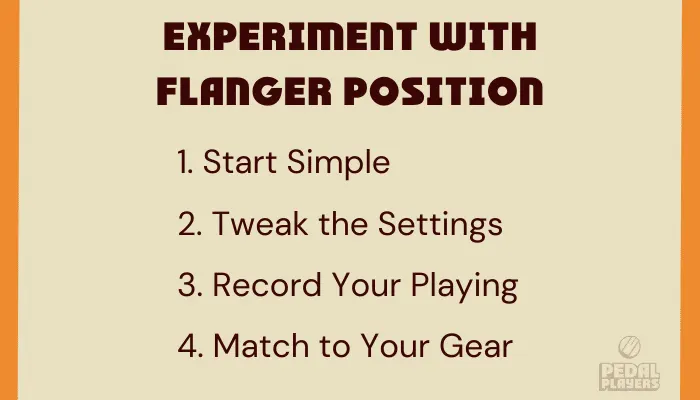
- Start Simple
Begin with the flanger first in your signal chain, then move it after your distortion. The difference in sound is immediate, and it’s the best way to figure out what you like. - Tweak the Settings
Spend time with your pedal’s feedback, rate, and mix controls. Small changes can make a big change to how the flanger interacts with your tone in either position. - Record Your Playing
One of the best ways to hear how your effects sound is by recording yourself playing and changing the placement of the pedals between recordings. When you listen back, it’s much easier to hear how the flanger blends with your rig and playing style. - Match to Your Gear
Every rig is different. Your amp, pedals, and guitar all interact differently, so test your flanger’s placement with your specific setup for the best results.
A Final Thought
The beauty of choosing whether to put your flanger before or after distortion lies in its flexibility. There’s no wrong place to put it if it gets you closer to the tone you’re chasing.
Maybe you’re after a subtle texture to enrich your playing, or perhaps you want a bold, swooshing statement that turns heads. Whatever your goal, let your curiosity and creativity guide you.
Try setups that defy the “rules,” and don’t be afraid to ask, what if? You might stumble upon a sound that feels uniquely yours.