Finding the best guitar pedals for beginners shouldn’t require a music theory degree, but most guides make it feel that way. You walk into a guitar shop, see hundreds of colorful boxes with mysterious names, and have no idea where to start.
The answer isn’t buying everything at once. It’s understanding the five pedal types that form the foundation of virtually every professional guitarist’s setup.

After years of testing beginner-friendly pedals and watching new players struggle with overwhelming choices, I’ve learned that success comes from mastering a few essential effects rather than collecting dozens you barely understand. Kurt Cobain built his entire sound around a few basic pedals. The Edge created stadium-filling anthems with four core effects.
This guide breaks down exactly which specific pedals deliver maximum impact for your investment, with tested recommendations that work right out of the box. These five pedal types form the foundation that professionals build upon, but you don’t need to understand every technical detail to get started.
Table of Contents
Quick Reference: Your Essential Pedal Types
| Pedal Type | What It Does | Best Starter Pick | Price Range | Essential |
|---|---|---|---|---|
| Distortion | Aggressive, saturated crunch | Boss DS-1 Distortion | $70-90 | Hard Rock, Metal |
| Overdrive | Warm, natural tube-like saturation | Boss SD-1 Super Overdrive | $50-70 | Blues, Classic Rock |
| Delay | Clear repeats and echoes | Boss DD-8 Digital Delay | $150-200 | All Styles |
| Reverb | Spatial depth and atmosphere | TC Electronic Hall of Fame | $120-150 | All Styles |
| Modulation | Movement and texture (chorus, phaser) | MXR Phase 90 | $80-100 | Enhancement |
1. Your First Gain Pedal: Boss DS-1 Distortion

The biggest decision for any beginner is choosing their first gain pedal. And it’s where most players get overwhelmed by conflicting advice.
Here’s the simple truth: start with distortion if you want immediate tone transformation, or overdrive if you prefer subtle, amp-like enhancement.
Both pedals add gain and saturation, but they serve different musical purposes and respond differently to your playing style.
For a detailed breakdown of how these effects differ and which specific situations call for each, check out our complete Overdrive vs Distortion guide. But if you’re building your first pedalboard, here’s what you need to know:
Boss DS-1 Distortion: The Universal First Choice
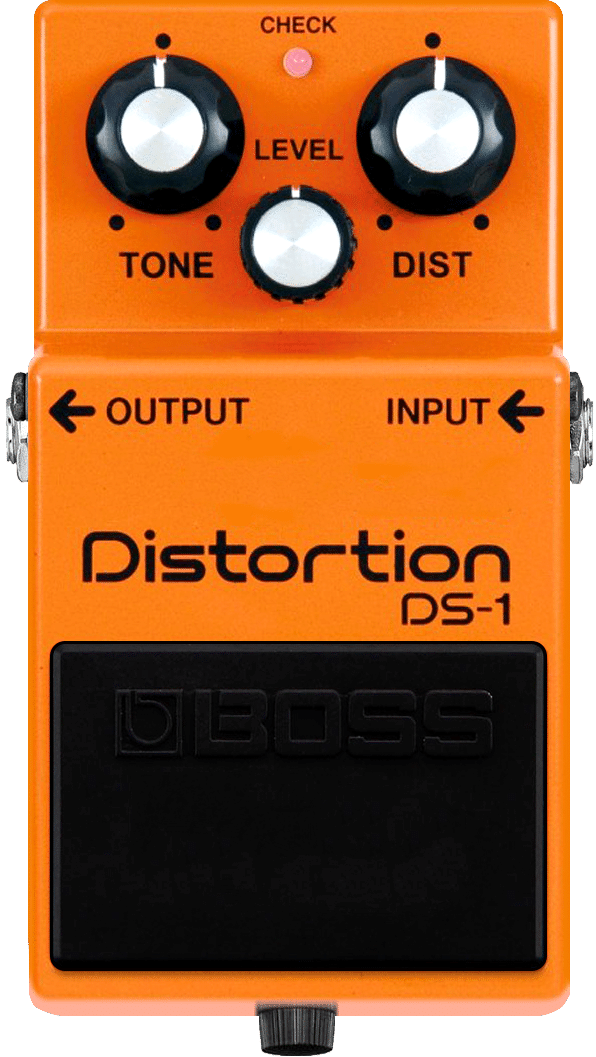
The Boss DS-1 delivers an aggressive bite that cuts through any mix at a price of roughly $70. Unlike overdrive pedals that work best with tube amps, distortion sounds consistent whether you’re playing through a practice amp or a Marshall stack.
Kurt Cobain used a distortion pedal for Nirvana’s entire career, and Joe Satriani still reaches for his DS-1 for certain tones.
DS-1 Distortion
Available At
These are affiliate links. If you buy through them, we may earn a commission at no extra cost to you. Learn more
My recommended DS-1 settings for beginners:
- Tone: 12 o’clock (neutral brightness)
- Level: 2 o’clock (slight boost over clean)
- Distortion: 10 o’clock (moderate crunch)

This gives you classic rock distortion that works immediately. Want heavier sounds? Push the Distortion knob to 2 o’clock. For cleaner lead tones, back it off to 9 o’clock.
When to Consider Overdrive Instead
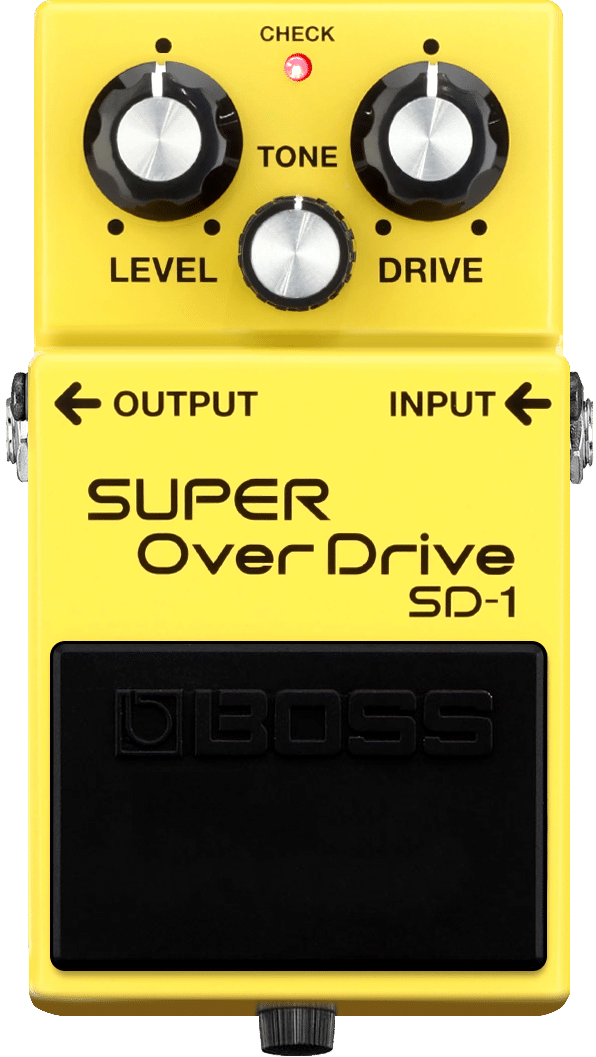
Choose the Boss SD-1 Super Overdrive ($70) if you mostly play blues or classic rock and want a warm, tube-like response that cleans up with your guitar’s volume knob. Overdrive is awesome when you need touch-sensitive dynamics that respond to your playing intensity.

SD-1 Super Overdrive
Available At
These are affiliate links. If you buy through them, we may earn a commission at no extra cost to you. Learn more
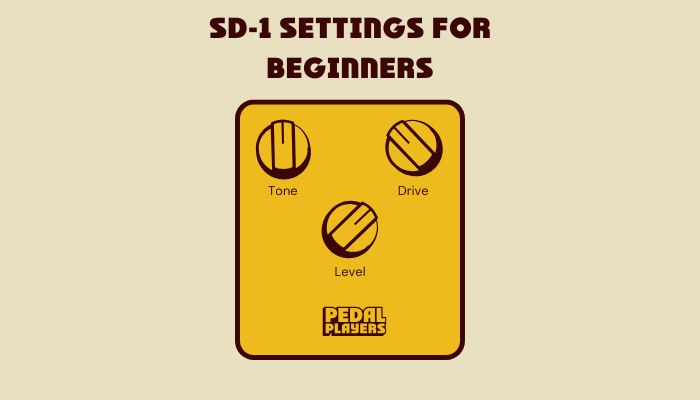
Essential SD-1 settings for beginners:
- Tone: 12 o’clock
- Level: 2 o’clock
- Drive: 10 o’clock
Budget Overdrive Alternatives That Actually Work
If the Boss pedals stretch your budget, the Joyo Vintage Overdrive delivers solid overdrive tones for $35. The Mosky Golden Horse offers surprising quality at $25. For distortion alternatives, the Behringer Heavy Metal HM300 copies classic Boss circuitry for under $30.
2. Essential Reverb: TC Electronic Hall of Fame
Nothing kills a guitar solo quite like a bone-dry signal cutting through the mix. You’ve probably experienced this already. Your guitar sounds amazing on its own, but it disappears the moment bass and drums enter.
Reverb doesn’t just add atmosphere, it creates the illusion of space that helps your guitar sit naturally in any mix.
The Three Reverb Types You’ll Actually Use
There are all kinds of reverb types out there, but most of them are unnecessary for 99% of players. Here are the three that matter.
Room Reverb
Simulates a small recording space. Set decay around 25% and mix at 30% for that classic studio sound. Perfect for blues and rock when you want presence without washing out your tone.
Hall Reverb
Creates cathedral-like space. Push decay to 60% and mix to 40% for ambient passages. This setting transforms simple chord progressions into cinematic soundscapes.
Plate Reverb
Offers vintage studio character. Keep decay at 45% with mix around 35%. This bright, dense reverb cuts through heavy mixes beautifully.
TC Electronic Hall of Fame 2
Available At
These are affiliate links. If you buy through them, we may earn a commission at no extra cost to you. Learn more
TC Electronic Hall of Fame 2: Why It Works for Beginners
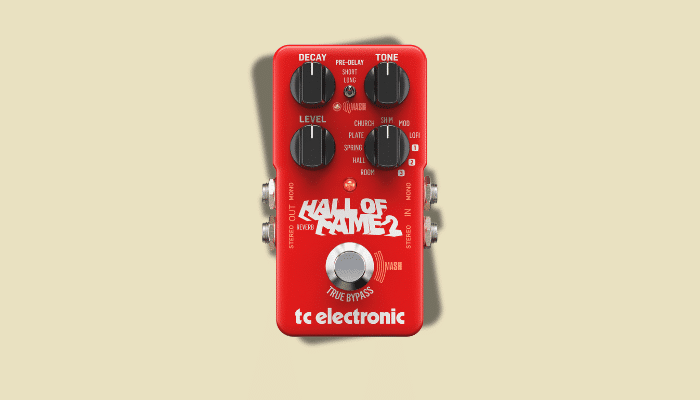
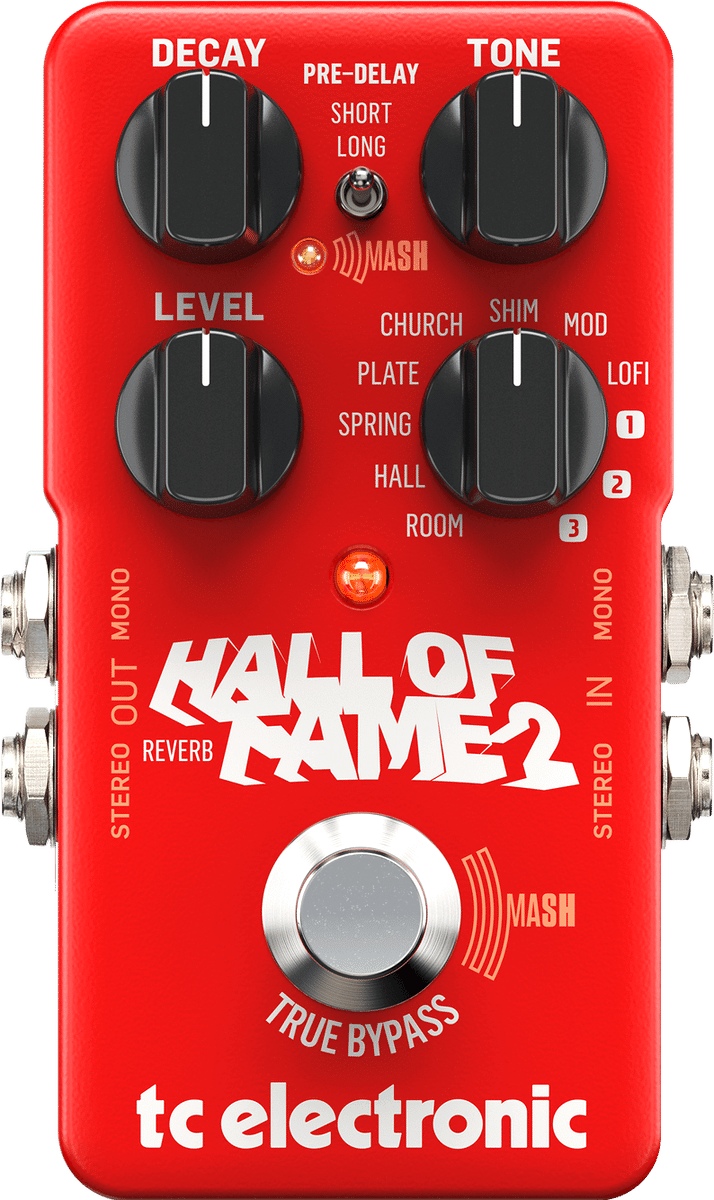
The Hall of Fame 2 offers 8 distinct reverb algorithms covering every style from country to metal. Its TonePrint technology provides instant access to professional presets. No tweaking required when you’re starting out.
The Mash footswitch adds expression control, letting you swell reverb levels by pressing harder. This feature alone justifies the $130 price tag for players who want dynamic control without buying additional expression pedals.
Start with these Hall of Fame 2 settings:
- Setting: Room
- Decay: 9 o’clock
- Level: 10 o’clock
- Tone: 12 o’clock

Budget Alternative: Boss RV-6
The Boss RV-6 offers eight sounds for under $130. Its shimmer and Delay+Reverb modes provide some unique textures, though it doesn’t have any preset flexibility.
3. Delay That Actually Works: Boss DD-8

Many guitarists think delay is just another reverb. It’s not even close.
Reverb fills the space around your guitar like playing in a cathedral. Delay creates distinct repeats of your playing, like bouncing your guitar parts off a canyon wall. When you play a note with reverb, it blooms into an atmospheric wash. With delay, you hear clear repetitions of that exact note.
Boss DD-8 Digital Delay
Available At
These are affiliate links. If you buy through them, we may earn a commission at no extra cost to you. Learn more
The Most Important Delay Technique
Set your delay time to match the song’s tempo. For a medium-tempo song like “Comfortably Numb,” dial in 375ms or tap out a tap tempo with about 30% feedback. This creates one clean repeat that improves your tone without overwhelming it.
The secret is that your delay time should complement the space between your notes. Fast runs work better with shorter delays (150-250ms). Sustained chords benefit from longer delays (400-500ms) that fill gaps between notes.
When Delay Transforms Your Playing
Clean arpeggios sound magical with 400-500ms delay at low feedback. Think “Wish You Were Here” or “Nothing Else Matters.” The delay fills gaps between notes, creating flowing, connected phrases.
For solos, try 250-350ms with moderate feedback. This gives you phantom rhythm guitar underneath your lead lines. The Edge built his entire career on this single technique.
Boss DD-8: The Beginner’s Dream Delay
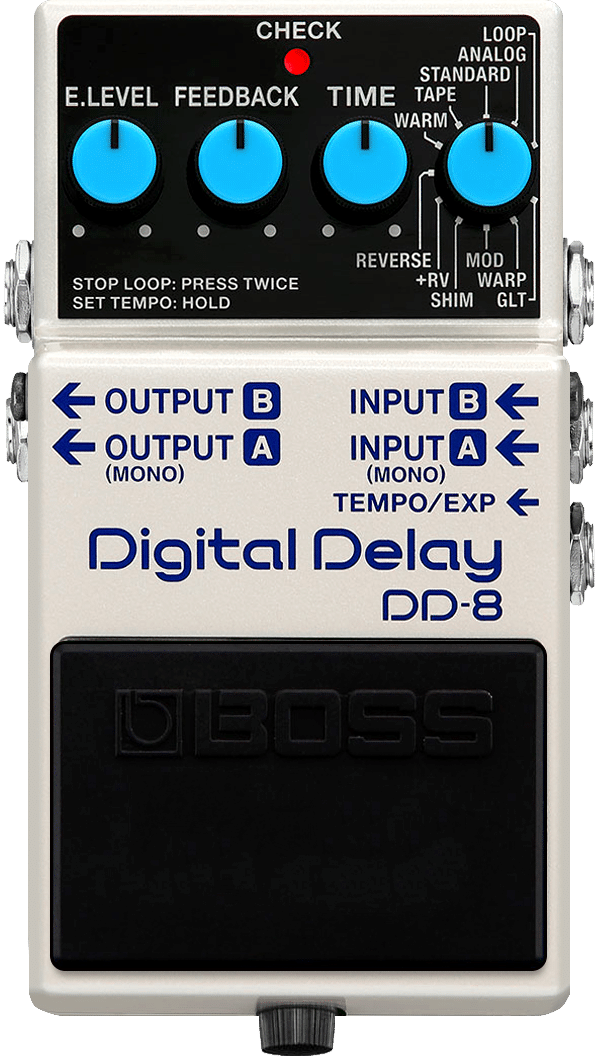
The DD-8, at roughly $199, is my top recommendation for new players. Its tap tempo feature lets you match any song instantly. Just tap the footswitch in time with the music to set the delay time. No mathematical calculations required.
The 11 delay modes cover everything from vintage analog warmth to pristine digital repeats. Start with the Standard mode for clean repeats, then experiment with Analog mode for warmer, slightly degraded echoes.
Essential DD-8 settings for beginners:
- Mode: Standard
- Time: Set to match song (keep low for practicing)
- Feedback: 3 – 4 o’clock (listen for 1-2 repeats)
- Mix: 3 – 4 o’clock (delay audible but not overwhelming)

Budget Delay Options
The Joyo D-Seed, priced at roughly $50, offers surprising quality with clean repeats and intuitive controls. It lacks premium features but handles basic delay duties perfectly. The MXR Carbon Copy, priced at $150, offers beautiful analog warmth with simple, musical controls.
4. Modulation: MXR Phase 90

Modulation effects create movement by subtly shifting your signal’s frequency and phase relationships. Think of it as adding life to a static sound.
While distortion changes your tone’s character, modulation makes it breathe and move.
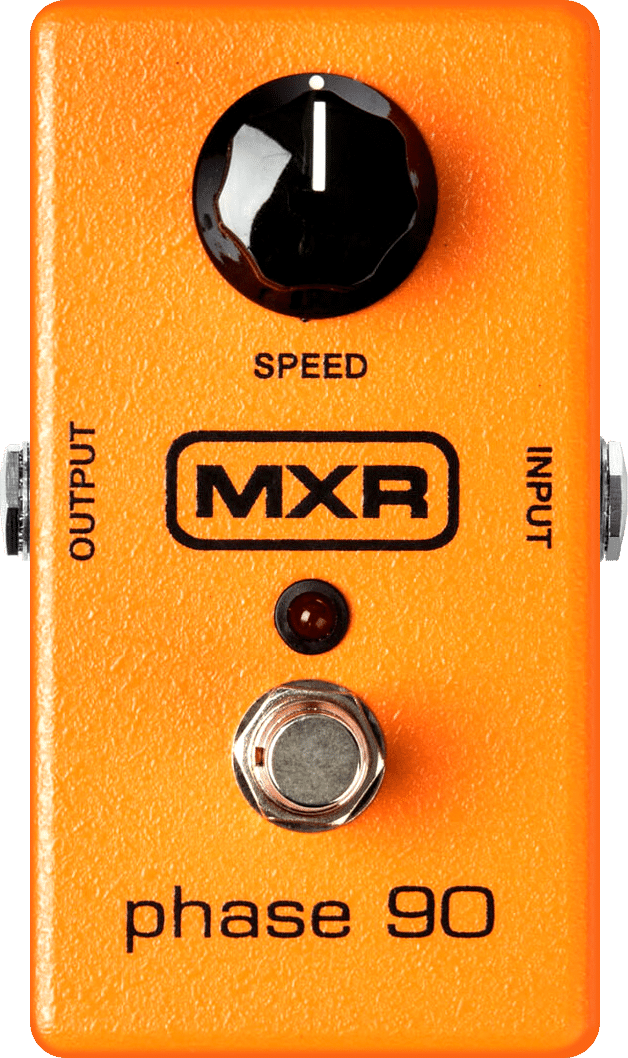
MXR Phase 90
Available At
These are affiliate links. If you buy through them, we may earn a commission at no extra cost to you. Learn more
MXR Phase 90: The One-Knob Wonder
The MXR Phase 90‘s beauty lies in brutal simplicity. One Rate knob controls oscillation speed, and that’s it. No complex settings to overwhelm beginners.
Turn the knob counterclockwise for slow, subtle sweeps that add gentle movement to clean chords. Turn it clockwise for faster, more obvious swooshes perfect for psychedelic leads.
The sweet spot usually sits around 10-11 o’clock – giving you that classic “breathing” effect without being too obvious.

Classic Examples of Phaser
Eddie Van Halen made the Phase 90 famous with “Eruption” and “Unchained.” That signature whoosh cutting through the mix? Phase 90 at 12 o’clock for moderate speed.
The Eagles used it on “Hotel California” for those shimmering arpeggios. Pink Floyd employed it for atmospheric textures. The analog circuit of the phase 90 produces warm, musical sweeps that digital units can’t totally match.
Modulation Alternatives by Style
For chorus effects: Boss CH-1 Super Chorus delivers that doubled-up sound perfect for clean passages and 80s-style leads.
For vintage vibes: EHX Small Clone provides the chorus sound Kurt Cobain used on “Come As You Are.”
For tremolo: Boss TR-2 offers volume modulation that creates rhythmic pulsing effects.
5. The Professional’s Secret: Boss TU-3 Tuner
Your phone’s tuner app works fine in your bedroom. But when you need to tune silently between songs on stage, that smartphone becomes useless.

Why Tuner Pedals Beat Phone Apps
Phone apps struggle with background noise and can’t hear you through a loud band. The Boss TU-3 Chromatic tuner processes your guitar’s direct signal before any effects, giving accurate readings even in noisy environments.
When you step on it, your signal mutes completely. The audience hears nothing while you fix that slightly flat B string. This silent tuning capability separates amateur players from professionals.
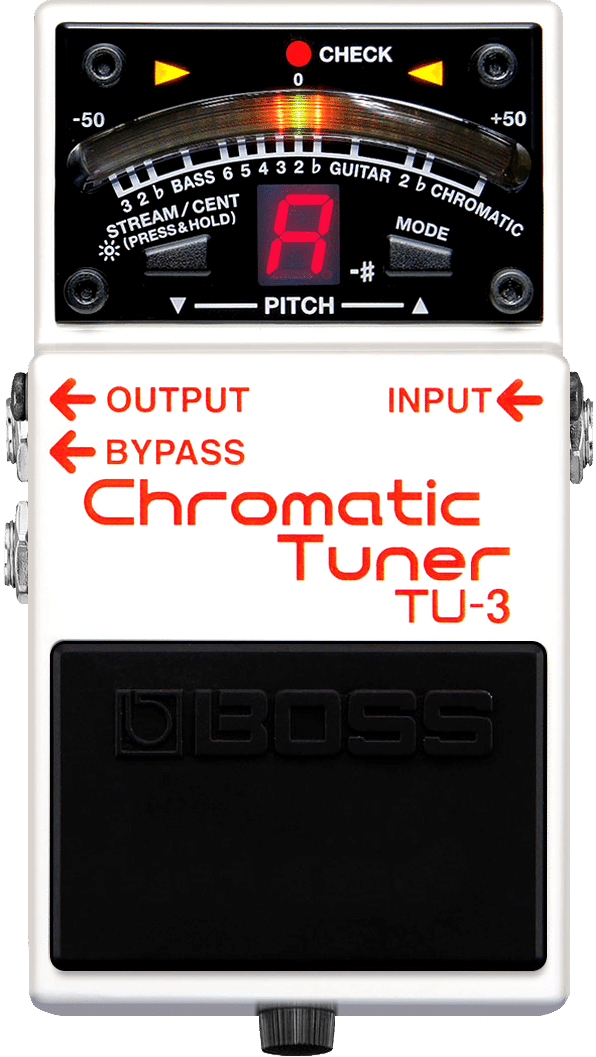
Boss TU-3 Chromatic Tuner
Available At
These are affiliate links. If you buy through them, we may earn a commission at no extra cost to you. Learn more
Signal Chain Placement
Your tuner should be first in your signal chain, right after your guitar. This position lets it read your pure guitar signal before any effects color the pitch.
Place it before compression, overdrive, or any other pedals. Think of it as the gateway to your entire rig.
Want to dig into the details of tuner placement? Check out our article Where to Put a Tuner on Your Pedalboard: The Ultimate Guide.
Budget vs Premium Tuning Options
The Boss TU-3, at about $95, offers a bright LED display visible in any lighting condition, plus multiple tuning modes, including drop tunings. There are also budget options like the Joyo JF-01 at $35 that handle basic chromatic tuning perfectly well.
Premium features like polyphonic tuning and buffered bypass are nice but unnecessary for most players. Simple, reliable pitch detection is what matters.
Quick Setup: Getting Your 5 Pedals Working Together
You’ve bought your starter pedals and now they’re sitting on your bedroom floor. Don’t let poor setup ruin great gear. Getting the basics right makes all the difference.
Essential Signal Chain Order
Connect your pedals in this order:
Guitar → Tuner → Drive (DS-1) → Modulation (Phase 90) → Delay (DD-8) → Reverb (Hall of Fame) → Amp
This order of pedals ensures each effect receives the cleanest possible signal before adding its character. Placing the tuner first lets it read your pure guitar signal, while reverb goes last so it decays naturally without being chopped up by other effects.
When you’re more experienced, sure, try different orders. But for getting started, this always works!
Power Supply Essentials
If you can avoid it, don’t daisy-chain everything off one adapter. The DD-8 and Hall of Fame are digital pedals that need clean, isolated power to prevent glitches and noise. Get an isolated power supply like the Truetone CS7 ($169) to give each pedal its own clean power source.
For complete guidance on pedalboard layout, cable management, and troubleshooting common setup problems, check out our detailed guide: How to Set Up a Guitar Pedalboard: Order, Power, Layout.
Start Simple, Build Smart
Position your most-used pedals where your foot naturally falls. That DS-1 you’ll hit for solos? Front and center. The Hall of Fame you set once for ambience? Back row works fine.
Great tone starts with proper setup. These five pedals can sound amazing or terrible, depending on how you connect them.
Common Beginner Mistakes That Kill Your Tone
Mistake #1: Too Much of Everything
New players often turn every knob to maximum, thinking more equals better. Start with modest settings on all pedals. Your overdrive doesn’t need to be screaming, your delay doesn’t need infinite repeats, and your reverb shouldn’t sound like you’re playing in a cathedral.
Mistake #2: Wrong Signal Chain Order
Putting reverb before overdrive creates muddy, undefined tones. Follow the standard signal chain order until you understand why breaking the rules might work for specific sounds.
Mistake #3: Ignoring Your Amp Settings
Your pedals interact with your amplifier’s settings. A distortion pedal into an already overdriven amp can sound terrible. Start with clean amp settings when using gain pedals, then adjust both together for optimal tone.
Mistake #4: Buying Before Trying
That pedal sounds amazing in the YouTube demo but might not work with your guitar and amp combination. Test pedals with your actual rig before buying whenever you can.
Budget Tips That Save Serious Money

The Used Market Gold Mine
That Boss DS-1 has been around since 1978. A used one for $40 sounds identical to the day it left the factory. The same goes for the MXR Carbon Copy or any classic analog pedal. These workhorse guitar pedals don’t depreciate much because they’re built like tanks.
My real-world test: I bought a used Boss DD-3 for $75 instead of $180 new. After six months of heavy use, it performs flawlessly. Always test before buying. Check for crackling pots, dead switches, or loose jacks.
Essential Maintenance
Make sure you clean your guitar pedals. If you have noise jacks, try cleaning them with DeoxIT contact cleaner ($12). This prevents the crackling that kills signal. A quick spray and wiggle removes oxidation that causes dropouts.
Store your pedalboard flat when not in use. Vertical storage stresses potentiometers, and I’ve repaired too many bent control knobs from careless handling.
Know When to Upgrade vs Replace
Before buying your fifth overdrive pedal, ask yourself: am I missing a sound or chasing perfection? The Joyo Vintage Overdrive delivers 85% of a $180 Tube Screamer’s tone for $35. That extra 15% rarely justifies the cost until you’re recording professionally.
Your Next Steps: Building Confidence Through Practice
You should now understand the five essential pedal types and have specific recommendations for each.
Don’t feel pressured to buy everything at once.
These five pedals represent the best guitar pedals for beginners. But, you don’t need them all right away. Start with two pedals that match your playing style.
Blues and classic rock players should grab an overdrive and a delay pedal. Metal players might prefer distortion and reverb first. The Boss DS-1 makes an excellent first choice because it’s versatile, reliable, and handles everything from clean boost to screaming leads.
When you’re ready to expand, think about your musical needs. Playing with a band? A compressor helps you cut through the mix. Want movement in your solos? Chorus or phaser adds that extra dimension.
Practice with each pedal individually before combining effects. Learn how your overdrive responds to different picking techniques. Understand how delay time affects the groove. Master your reverb settings for different room sizes.
Remember: Kurt Cobain, Joe Satriani, and countless legends crafted iconic sounds with simple setups. Your tone comes from your fingers first, then your amp, then your pedals. Start with quality basics, learn them thoroughly, and let your musical instincts guide future purchases.
Hopefully, the guitar shop doesn’t seem so overwhelming now. You’re ready to make informed decisions and build a pedalboard that serves your music rather than impressing other guitarists.
Trust your ears, start simple, and enjoy discovering the sounds hiding inside your guitar.
FAQs
What’s the difference between overdrive and distortion?
Overdrive simulates natural tube amp breakup and responds to your playing dynamics. Distortion creates its own saturated character regardless of your amp settings. Choose overdrive for blues and classic rock, distortion for hard rock and metal.
How many pedals do I need to start?
Three pedals cover 90% of situations: one gain pedal (overdrive or distortion), one time-based effect (delay or reverb), and a tuner. Add modulation and additional effects as your style develops.
Should I buy new or used pedals?
Used analog pedals like Boss and MXR classics offer excellent value since they don’t degrade over time. Digital pedals are riskier used due to potential firmware issues. Always test used pedals before buying.
What order should my pedals go in?
Guitar → Tuner → Gain pedals → Modulation → Time-based effects (delay/reverb) → Amp. This order preserves signal clarity and prevents unwanted interactions between effects.
Do I need an expensive power supply?
Yes, if you use digital pedals. Isolated supplies like the Truetone CS7 prevent noise and protect your pedals from voltage fluctuations. Daisy chains work for a few analog pedals but cause problems with mixed setups.
Can I use my phone instead of a tuner pedal?
Phone apps work fine for practice but fail in band situations due to background noise. Tuner pedals provide silent tuning and accurate readings regardless of environmental noise.


